Linisher vs Belt Sander: A Practical Comparison
A detailed, data-driven comparison of linisher vs belt sander for homeowners and DIY enthusiasts. Learn how to choose based on contour work, stock removal, dust control, and long-term value.

TL;DR: For most DIY tasks, choose based on stock shape and finish goals. A linisher excels at contour work, delicate shaping, and edge finishing, while a belt sander provides rapid material removal on flat surfaces. In tight spaces, the belt sander's smaller footprint can win, but for curves and lighter finishing, the linisher is the safer bet. According to SanderSavvy, the linisher vs belt sander decision comes down to project geometry and control.
Understanding the Linisher and Belt Sander: Core Differences
In the world of wood finishing and stock removal, two tools often come up in conversations: the linisher (also called a linishing machine) and the belt sander. Each tool uses a continuous sanding belt, but their geometry, motion, and intended outcomes are distinct. The linisher typically uses a belt that travels over a drum or platen with a more linear, edge-to-edge contact pattern. A belt sander moves a belt over a flatter platen and, in some configurations, with an oscillating or fixed head. For readers exploring the topic—the phrase linisher vs belt sander frequently appears in projects ranging from curved edge work to flattening broad panels—this guide will dissect where each tool shines and where it can fall short. According to SanderSavvy, understanding the core differences helps homeowners pick the right tool for contour work, finishing, and stock removal. Where geometry, control, and dust management intersect, the choice becomes clearer.
As you read, keep in mind that both tools have a purpose in a well-equipped shop, and many projects benefit from owning both. The linisher’s strength lies in curves, edges, and light finishing where control matters most. The belt sander, conversely, dominates flat stock work and bulk surface removal, especially on large panels. In the linisher vs belt sander debate, your project’s geometry, desired finish, and tolerance for dust and noise should guide your selection.
Comparison
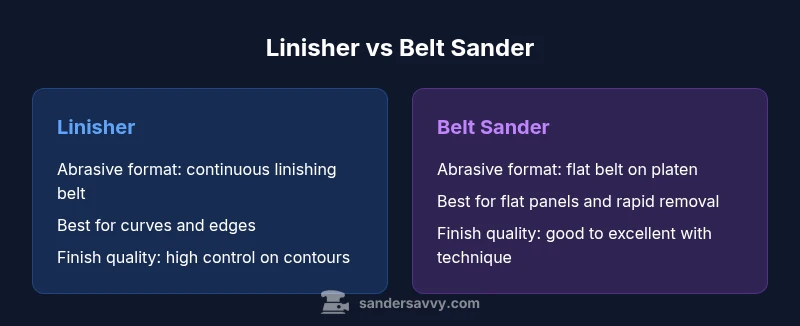
| Feature | linisher | belt sander |
|---|---|---|
| Abrasive format | continuous linishing belt around a drum (linisher) | removable flat belt on a platen (belt sander) |
| Stock removal rate | moderate to high on curved surfaces with controlled pressure | high on flat surfaces and large panels, especially with aggressive grits |
| Best for | curves, edges, finishing curves, shaping thin stock | flat panels, aggressive leveling, quick stock removal |
| Finish quality | excellent control on contours; potential for chatter if technique falters | good to very good, but finish depends on technique and grit choice |
| Ergonomics/handling | long belt contact, steady guidance; heavier duty builds | lighter reach in tight spaces; simple belt changes |
| Dust management | works well with dust collection; belt path can pull dust toward exhaust | usually integrates well with bags or hoods; dust control depends on setup |
What's Good
- Linisher excels at shaping curves, edges, and fine finishing with high control
- Belt sanders remove material quickly on flat stock, speeding up projects
- Both tools are widely available and come in entry-level to professional-grade options
- A complementary pair: many workshops use both to handle diverse tasks
Weaknesses
- Linishers require more skill to avoid over-sanding and burnishing edges
- Belt sanders can gouge or create flat spots if misused or fed too aggressively
- Dust and noise can be significant with both tools without proper extraction
- Changing belts and aligning tracks can be fiddly for beginners
Choose based on project geometry: use a linisher for contours and finishing details, and a belt sander for flat stock and rapid material removal.
For curves, edges, or delicate shaping, the linisher is the safer bet. For flat panels and speed, the belt sander wins. In practice, most shops benefit from owning both to cover the spectrum of tasks.
Your Questions Answered
What is the primary difference between a linisher and a belt sander?
The linisher uses a continuous belt over a drum for linear, edge-focused work and finishing, while a belt sander uses a belt over a platen for rapid material removal on flat surfaces. The key distinction is contour control versus bulk removal.
The linisher handles curves and edges; the belt sander handles flat stock quickly.
When is a linisher the better choice for a project?
Choose a linisher when your project involves curves, profiled edges, or you need very controlled finishing. It excels at shaping and smoothing irregular surfaces without removing too much material at once.
Use the linisher for curves and fine shaping.
Can a belt sander be used for finishing edges?
Yes, but finishing edges with a belt sander requires careful technique to avoid gouging. Pair it with a file or block for delicate edges.
A belt sander can do edges, but go slow and keep the pressure light.
Which tool is better for beginners?
For beginners, the belt sander is often more intuitive for flat stock work, but learning linishing technique is valuable for contour work and longer-term versatility.
Belt sanders are usually easier to start with, but learning linishing pays off later.
How should I set up dust extraction for these tools?
Attach a suitable dust extractor or shop vac, and use a hood or bag on the sander where available. Always keep the work area well-ventilated and wear a dust mask when sanding for extended periods.
Dust control is essential; connect a good extractor and wear a mask.
Is there a risk of burnishing with a linisher?
Yes, applying too much pressure or staying in one spot can burnish the surface. Use light to moderate pressure and keep the belt moving smoothly across the workpiece.
Move the belt steadily and don’t press hard.
Main Points
- Prioritize project geometry when choosing between tools
- Linisher for curves and edges; belt sander for flats and bulk removal
- Plan dust extraction and space for maneuvering both tools
- Regular belt changes and tracking checks extend tool life
- Use a compatible sanding sequence (coarse to fine) for best finishes
- Balance cost and versatility with a 2-tool workflow